Run your first ESP32 program
Create an Arduino project with the ESP32-C3 / Arduino target. The starter’s project-named .ino sketch prints a greeting once in setup(), then alternates between LED on and LED off messages in loop().
Press Run in the IDE header. The workspace builds the sketch, starts the C3 simulator, and streams UART output to the serial view. If compilation fails, open the build output and follow the file and line reported by the compiler.
The starter sets GPIO 8 high and low, but a new project has no LED wired to that pin. To see the blink in the circuit view, add an LED and connect its anode to GPIO 8 and cathode to GND. The component panel can suggest compatible connections; review them before running.
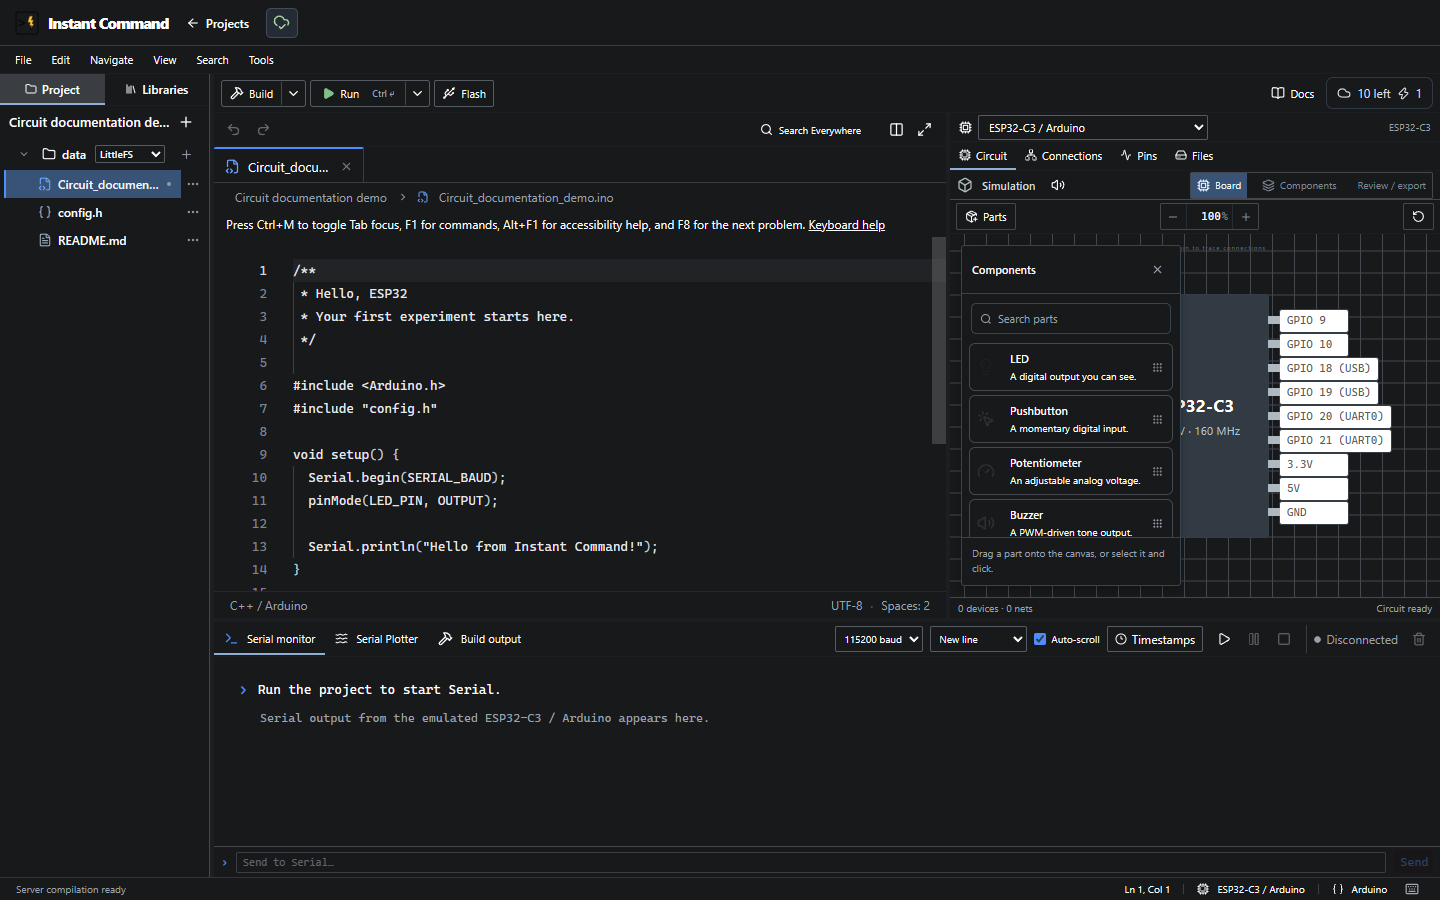
See Hardware workbench controls and IDE controls for the buttons visible here. The image shows the editing state; it is not evidence of a running circuit. Physical LED wiring also requires an appropriate current-limiting resistor.
Change BLINK_INTERVAL_MS in config.h, save the project, and press Run again to build the new version.