Create and organize projects
The Projects page lists projects saved to your account. Choose New project, enter a Project name, select Project type and Target, then choose Create project. The new project opens in the IDE with starter files for its type.
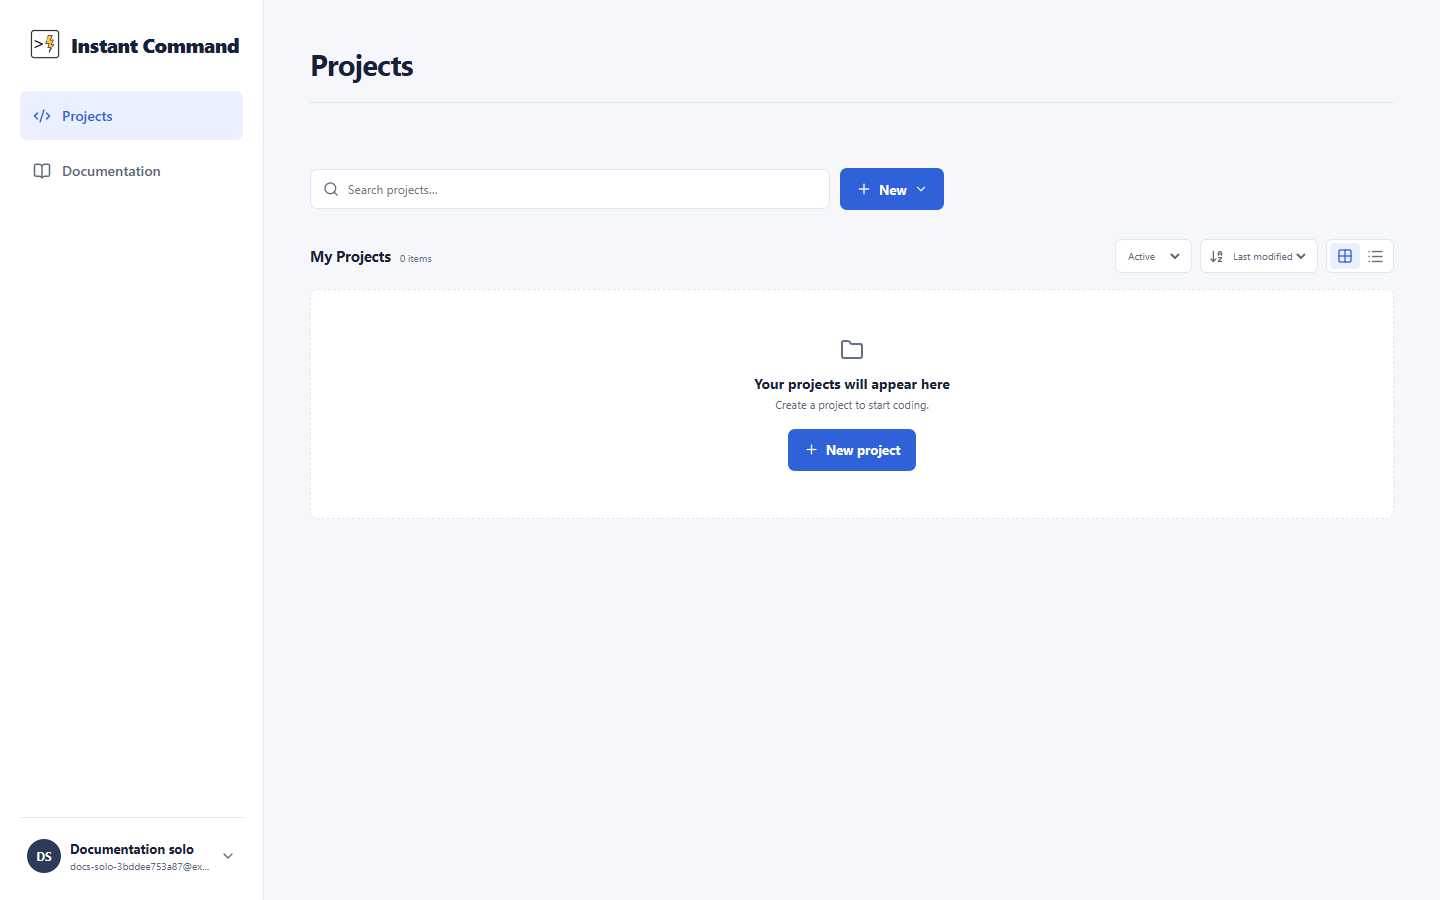
Use New folder on the Projects page to group related work. Open a project from the list to continue editing it. The project menu provides renaming, moving, archiving and deletion where your role permits them. Select enters selection mode; selection checkboxes then appear. A press and hold can also enter selection. Bulk moves/deletion apply to selected owned projects. Failed projects stay selected for retry. Archived projects can be deleted but cannot be moved from that view. Permanent deletion needs care; use archive to keep work available for restoration.
Assignment projects appear in classroom work as well as your workspace. Opening an assignment from Assignments preserves its connection to the class, tests, and submission flow. A personal project does not become an assignment submission just because it contains similar code.
For target-specific behavior, read Arduino projects , ESP-IDF projects, or Java projects.
| Control | Action |
|---|---|
| New project | Opens the creation dialog; choose a name, framework and enabled target. Java also offers optional JUnit setup. |
| New folder | Creates an organizational folder for owned projects. |
| Select | Reveals selection checkboxes and bulk actions. |
| Project card / name | Opens that saved workspace. |
| Project menu | Offers the available per-project organization actions. |